One of the biggest problems I had when learning node was figuring out how to get a production server up and running. Coming from a PHP background, I was used to just installing a LAMP stack on an Ubuntu server and then uploading PHP files to the directory specified in Apache.
Because node runs the server itself, the process for setting up a server is a bit different, so I’m going to try to create a step by step list of my process for doing it. This is by no means the best method for doing so, and I would love to hear any feedback you have about things I could do better in the comments below.
Server Setup
1. Create a DigitalOcean account
I am going to write this tutorial around Digital Ocean (disclosure: That is my referral link - You’ll get a $10 credit when you sign up if you use it). The process will be pretty similar for AWS or any other host. I chose DigitalOcean though because the reviews I’ve read have been really good, and because it’s as cheap as any VPS provider I’ve found. Also they have really good guides for all kinds of server management stuff, and that’s how I learned to do most of this in the first place.
2. Set up your SSH key
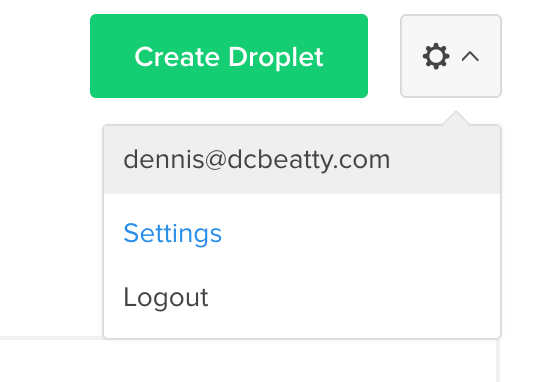
For security purposes, it is much safer to access your server with an SSH key instead of a password. If you don’t already have one set up on your local machine, DigitalOcean has created a pretty easy guide on how to generate an SSH key. Once you have your key generated, go into your settings from the menu in the top right corner of DigitalOcean’s site.
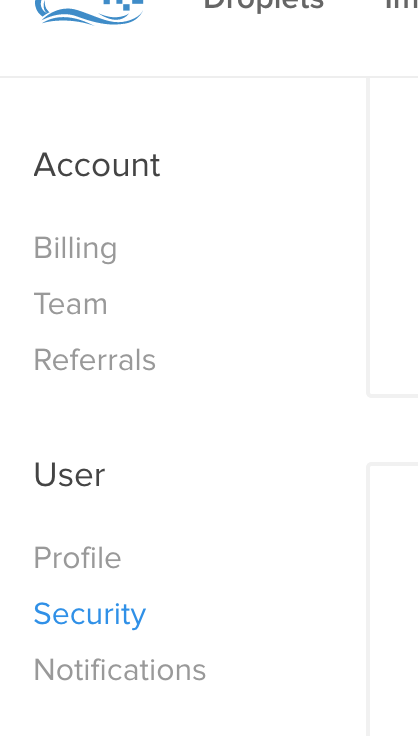
In the menu on the left, select security.
Now click the blue Add SSH Key button, and then paste your public SSH key into the box similarly
to the demo one below.

Click the big Create SSH Key button and your key is all set up!
3. Create your Droplet
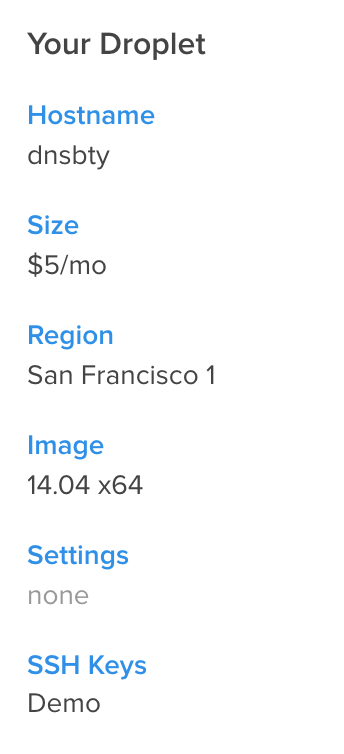
DigitalOcean uses the name Droplet to refer to their virtual servers. Click the big green “Create Droplet” button to get started. Give the Droplet whatever name you want. For a simple node server, the $5/month size should be perfectly fine. I usually choose San Francisco for my region because it’s closest to where I live in Utah, and because when I ran speed tests on all the regions it performed the best. For the purposes of this tutorial, use Ubuntu 14.04 x64 as the operating system. Finally make sure that you’ve added the SSH key that we just created. These are my settings on the right:
If everything looks good, go ahead and click “Create Droplet” and then watch as the loading bar moves across the screen. Or get up and grab some snacks or something because it usually takes a minute or two. Congratulations! You just got a Droplet set up!
From here on out, we will be working in the command line, but before we can do that, we need to grab the IP address of our new server, so go ahead and copy that from the top of this page:

4. SSH into the new Droplet
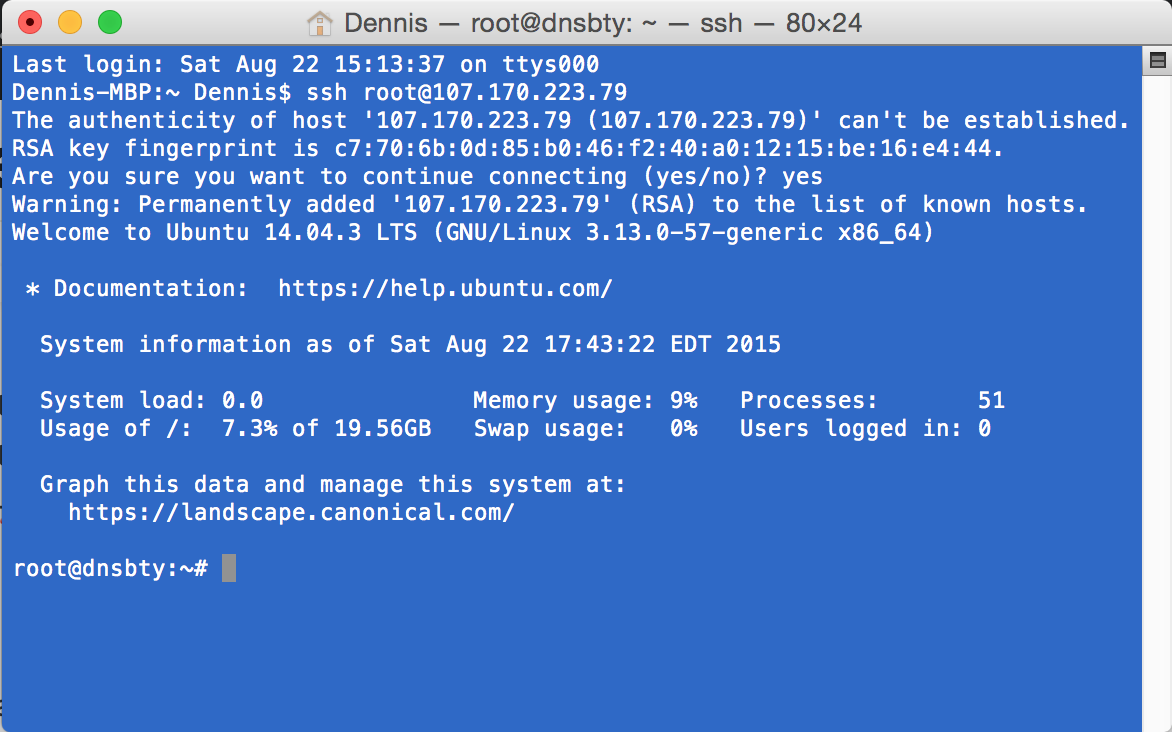
I’m working from a Mac, and so from a Mac or Linux machine this is pretty simple using the Terminal. On a Windows machine, you will need to use PuTTY (direct download link). From your terminal, type:
Substitute xx.xx.xx.xx for the IP address you copied in the last step. When it asks if you’re sure
you want to continue connecting type yes and hit enter. You should see something like this:
Congratulations! You’re in!
5. Create a safe user
For security purposes, it isn’t recommended that you use the root user for everything you do. We
will create a user that will be able to run admin commands only with a password. For this tutorial,
I will name the user dennis but feel free to choose any name you like and substitute the name
anywhere you see dennis. Start by entering the following command:
adduser dennis
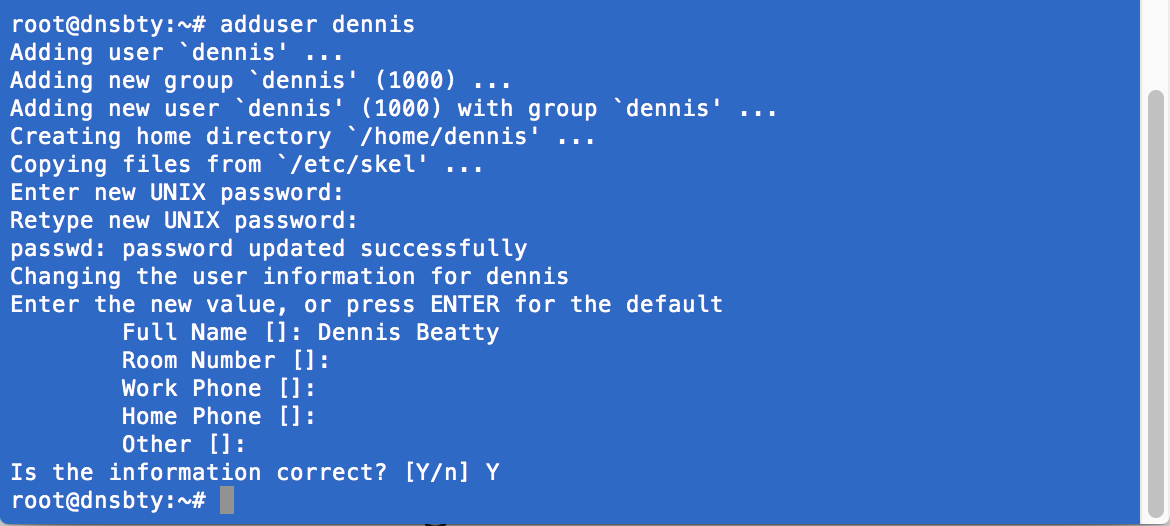
You will be prompted to enter a password (make sure you remember this… you will need to enter it every time we run an admin command) and some other info. In the end, your terminal should look similar to this:
Now we need to give your new user the ability to use sudo to run administrative commands.
gpasswd -a dennis sudo
So now we have a user that can use sudo, but currently we would have to use a password to SSH in,
and I ain’t about that life. Let’s set up our new user with our SSH key from the beginning of the
tutorial. Normally we would have to copy it in from our local machine, but since it’s already on our
server we can just copy it over with a couple quick commands. Remember to change out all instances
of dennis with the name of your user.
mkdir /home/dennis/.ssh
chmod 700 /home/dennis/.ssh
cp ~/.ssh/authorized_keys /home/dennis/.ssh/authorized_keys
chown -R dennis:dennis /home/dennis
OK, now that we have that set up, let’s give it a whirl. Type exit to log out, and then SSH back
into your Droplet and it should log in without a password.
6. Disable the root account
Now that we have a new user with sudo privileges, we shouldn’t need the root account. For security
purposes, it’s best to disable the account so let’s go ahead and do that.
sudo vi +28 /etc/ssh/sshd_config
The cursor will be on line 28, which says
PermitRootLogin yes
Hit i on your keyboard to enter editing mode, then use the arrows to go to the end of the line and
change it to say:
PermitRootLogin no
Then press Esc on your keyboard and type :wq to save and exit the editor. Now that we have
changed the settings, we will need to restart the SSH service.
sudo service ssh restart
Now the root account will no longer be available for login via SSH. Feel free to log out and give it a try to make sure.
7. Create a swap file
If your application is very memory intensive, or if you intend to run multiple applications off the same server, it’s a good idea to create swap space. Swap space allows the system to use part of your hard drive space as it would memory, and can keep your system from crashing during memory intensive operations like npm. Feel free to modify the first line and change 1G to any amount of space you would like. 1GB should be sufficient for our purposes and the size of our server.
sudo fallocate -l 1G /swapfile
sudo chmod 600 /swapfile
sudo mkswap /swapfile
sudo swapon /swapfile
sudo sh -c 'echo "/swapfile none swap sw 0 0" >> /etc/fstab'
8. Update apt-get
Apt-get is Ubuntu’s software package manager. It allows us to get and install all the software we need from the SSH command line, rather than having to install via discs and GUIs like you might be used to on Windows or OS X. First we need to make sure the apt-get database is up-to-date and that we have the latest updates for Ubuntu and any software that is already installed.
sudo apt-get update
sudo apt-get dist-upgrade
sudo apt-get upgrade
sudo apt-get autoremove
Software Installation
Now we have everything set up with Ubuntu. It’s time to get the software installed that we need.
9. Install git
I use git as an essential part of my workflow for pulling code from my repository onto my production server.
sudo apt-get install git
10. Install node and npm
This one is pretty obvious, since it’s the main reason we’re creating this server in the first
place. The second line is to create a symlink so you can use the command node instead of nodejs
sudo apt-get install npm
sudo ln -s "$(which nodejs)" /usr/bin/node
11. Install forever
Forever is an npm package that allows you to run node applications as background services so that you don’t need to keep a command line open forever to keep your node application going.
sudo npm install -g forever
12. Install nginx
Nginx is a great server software that runs inside Ubuntu. We are going to set up nginx to proxy users to our node app. Nginx will handle our domain names and SSL certificates and let users access our node applications without us having to deal with all of that.
sudo apt-get install nginx
13. Install MongoDB
This isn’t necessary if you aren’t going to use Mongo for your application, but I usually do, and the instructions for getting it set up are a little bit more difficult so I figured I would include them as well.
sudo apt-key adv --keyserver hkp://keyserver.ubuntu.com:80 --recv 7F0CEB10
echo "deb http://repo.mongodb.org/apt/ubuntu "$(lsb_release -sc)"/mongodb-org/3.0 multiverse" | sudo tee /etc/apt/sources.list.d/mongodb-org-3.0.list
sudo apt-get update
sudo apt-get install -y mongodb-org
14. Create a server image
Now that we have all of the necessary software installed and configuration complete, let’s create a server image so that we can set up more systems with this configuration, or to have a backup for the future.
sudo shutdown -P now
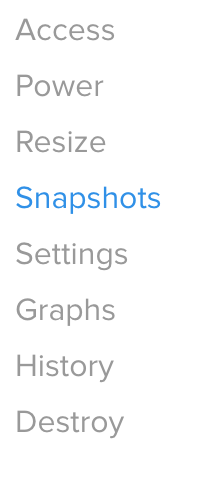
Now go back into your Droplet page on DigitalOcean’s site, and click on Snapshots.
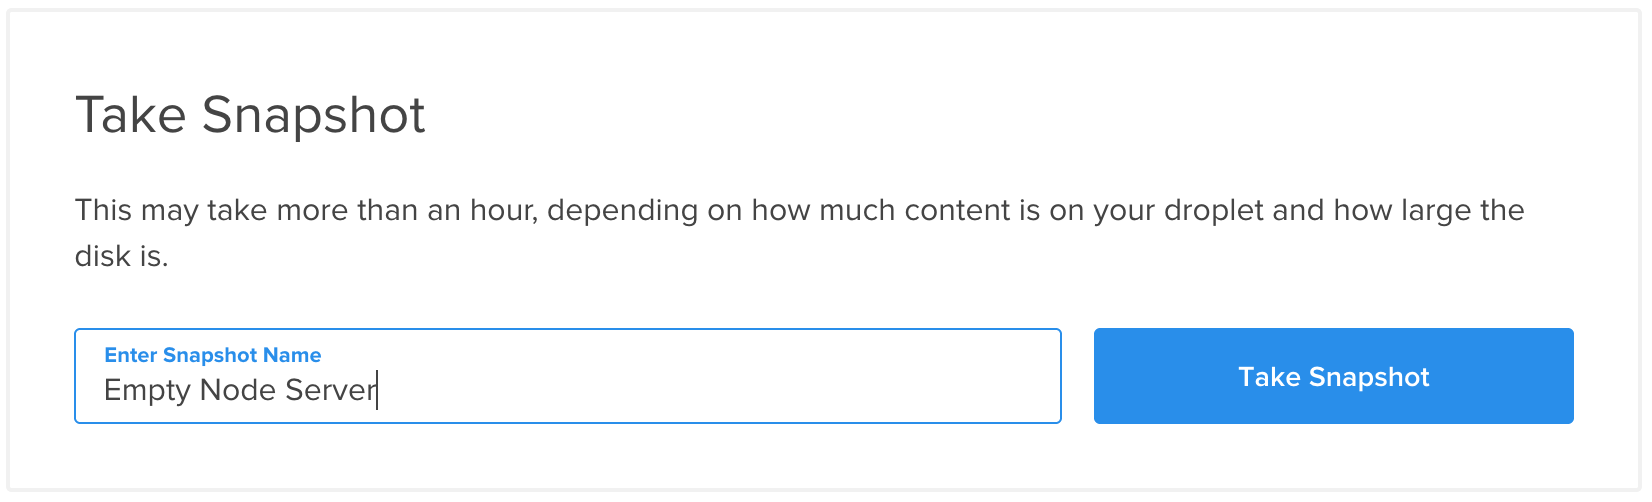
If the page gives you a message about needing to power off your Droplet, refresh it and that should
go away. Go ahead and enter whatever name you want and then click Take Snapshot. It will take a
lot longer to process this than it did to set up a new server (for me it was about five minutes), so
this would be a good time to cook dinner or catch up on your reading.
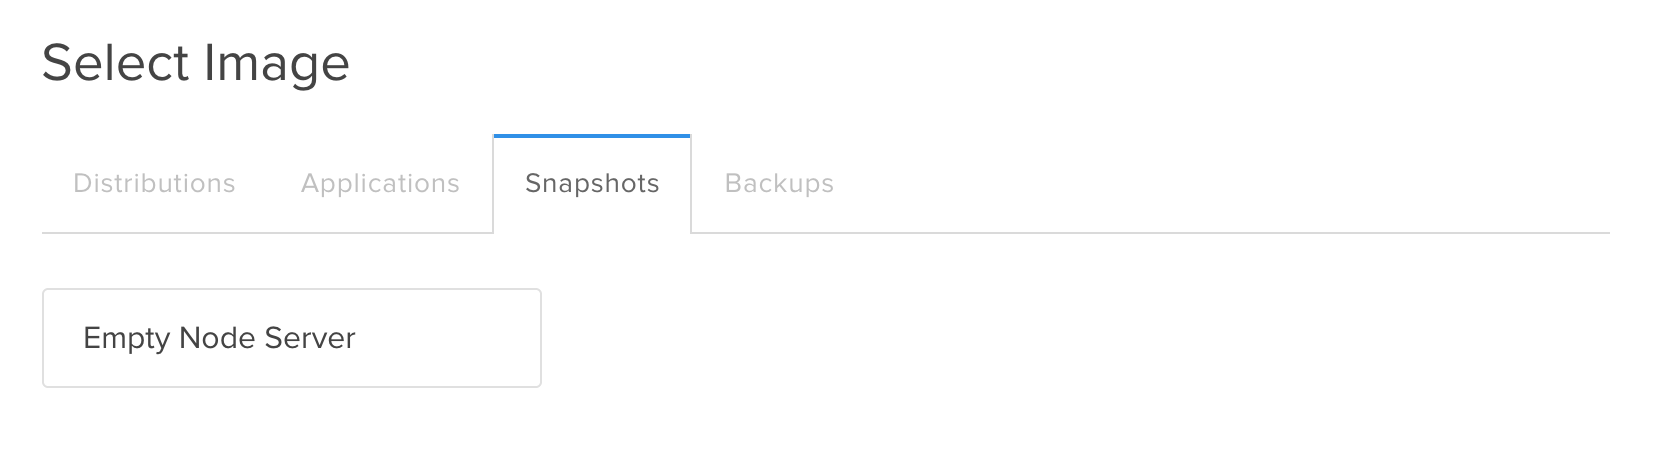
Now if you go to set up a new server in the future, you can tell DigitalOcean to just set up the new Droplet using the image that you created.
Software Setup
Now that all the software is installed, let’s get it all set up to work correctly.
14. Start up nginx and mongo
Let’s get nginx and mongo running.
sudo service nginx start
sudo service mongod start
Now if you navigate to the IP address of your server from your web browser, you should see a page that looks like this:
15. Install your node application
This is where it starts to get fun. Install your node application in the directory of your choosing.
It’s common to use /var/www, but for security reasons it may be better to use a different
directory. For this tutorial I will use /var/sites but feel free to use whatever you would like.
sudo mkdir /var/sites
If you don’t have a particular node application that you want to use right now, you can follow along by using the code for tweetiment, a Twitter sentiment analysis tool that I created back in May. Simply follow the instructions on the GitHub readme page:
cd /var/sites
sudo git clone https://github.com/dnsbty/tweetiment.git
sudo chown -R dennis:dennis tweetiment
cd tweetiment
npm install
cp sample.env .env
vi .env
Edit the environment variables in the file by using vi just like we edited the SSH configuration to block root access before. Let’s go ahead and make sure everything works correctly before moving on by running the node app.
node index.js
16. Run your node application
Now that we have the node application all set up, let’s start it running. If you still have it
running from the step above, go ahead and stop it by typing Control + C. Now let’s get it
started up using forever.
forever start --uid "tweetiment" --spinSleepTime 10000 index.js
Now to make sure it’s working correctly let’s type:
forever list
You should see something pretty similar to this:

If everything worked, let’s check it out in our browser. Navigate to http://xx.xx.xx.xx:5000.
Change the xx.xx.xx.xx to your server’s IP address, and if you aren’t using tweetiment, change the
5000 to whatever port number you’re using for your application. You should be able to see your
application now!
17. Start your node app when your server restarts
Right now anytime your server restarts, your node app won’t. You don’t want your users seeing an
ugly 502 Bad Gateway error page, so let’s set up Ubuntu to start your app whenever the server
restarts. Since I’m setting up the server to handle multiple apps, I’m going to set up a directory
for all the startup scripts. Make sure to substitute dennis for your username and tweetiment for
your app’s name
sudo mkdir /var/sites/startup
sudo chown dennis:dennis /var/sites/startup
vi /var/sites/startup/tweetiment.sh
Go ahead and hit i to enter edit mode, and then put in the following code. This script will start
your app using forever like we did before.
#!/bin/sh

if [ $(ps -e -o uid,cmd | grep $UID | grep node | grep -v grep | wc -l | tr -s "\n") -eq 0 ]
then
  export PATH=/usr/local/bin:$PATH
  forever start --uid "tweetiment" --spinSleepTime 10000 --sourceDir /var/sites/tweetiment -a index.js 2>&1
fi
Go ahead and hit Esc and then type :wq to save and exit. Now we need to tell Ubuntu to run the
script after the server starts up. We’ll do that with cron. Edit your cronfile by typing:
crontab -e
If this is your first time using crontab, it will ask what editor you want to use. I use vim basic,
so that’s what these instructions are for, but go ahead and choose a different editor if you’d like.
In vim, hit Shift + G to skip to the end of the file, then i to enter edit mode. Append this
to the bottom of the file:
@reboot sh /var/sites/startup/tweetiment.sh
Go ahead and hit Esc and then :wq to save and exit. Now anytime your server reboots, your node
app will start automatically.
18. Set up a domain name
Nobody wants to have to type in a bunch of numbers to get to a web application (unless you don’t
want anyone to find it I guess). Let’s get our application set up with a domain name. For this app,
I will use the domain tweetiment.dnsbty.com, but you can use any domain. I’m on Google
Domains, so I will show you how to set up the DNS records with them,
but any registrar should be able to do the same thing.
In Google Domains, click the Manage Domains button in the top right. From that screen, click the
server icon that says Configure DNS.

From that page, scroll to the bottom where it says Custom Resource Records. Add a new A Name (or
edit the current one) for your domain. If you’re using the current one, use @ where I’m using
tweetiment.

It may take a couple minutes for the changes to propagate, but when they do, you’ll see the Welcome to Nginx screen when you navigate to the domain. That’s not what we want though, so let’s get it pointing to your node app.
19. Set up nginx reverse-proxy to the node app
We’re going to configure nginx to take any requests that it receives asking for
tweetiment.dnsbty.com to display our node app. To do that, we’re going to create a virtual host.
sudo vi /etc/nginx/conf.d/tweetiment.dnsbty.com.conf
In that file, press i to enter edit mode, then enter the text below. Change
tweetiment.dnsbty.com to your domain, and the 5000 to whatever port your application uses.
server {
    listen 80;

    server_name tweetiment.dnsbty.com;

    location / {
        proxy_pass http://localhost:5000;
        proxy_http_version 1.1;
        proxy_set_header Upgrade $http_upgrade;
        proxy_set_header Connection 'upgrade';
        proxy_set_header Host $host;
        proxy_cache_bypass $http_upgrade;
    }
}
Hit the Esc key, then :wq to save the file and close the editor. Now we just need to restart
nginx to apply the changes.
sudo service nginx restart
20. Crack a huge smile
You did it! Your node.js app is running in production without heroku! If you have any questions, feel free to ask in the comments below, or hit me up on twitter at @dnsbty. Thanks for reading!